Posts

Solar panel install day

Image
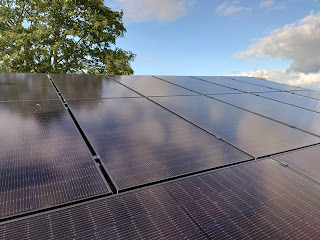
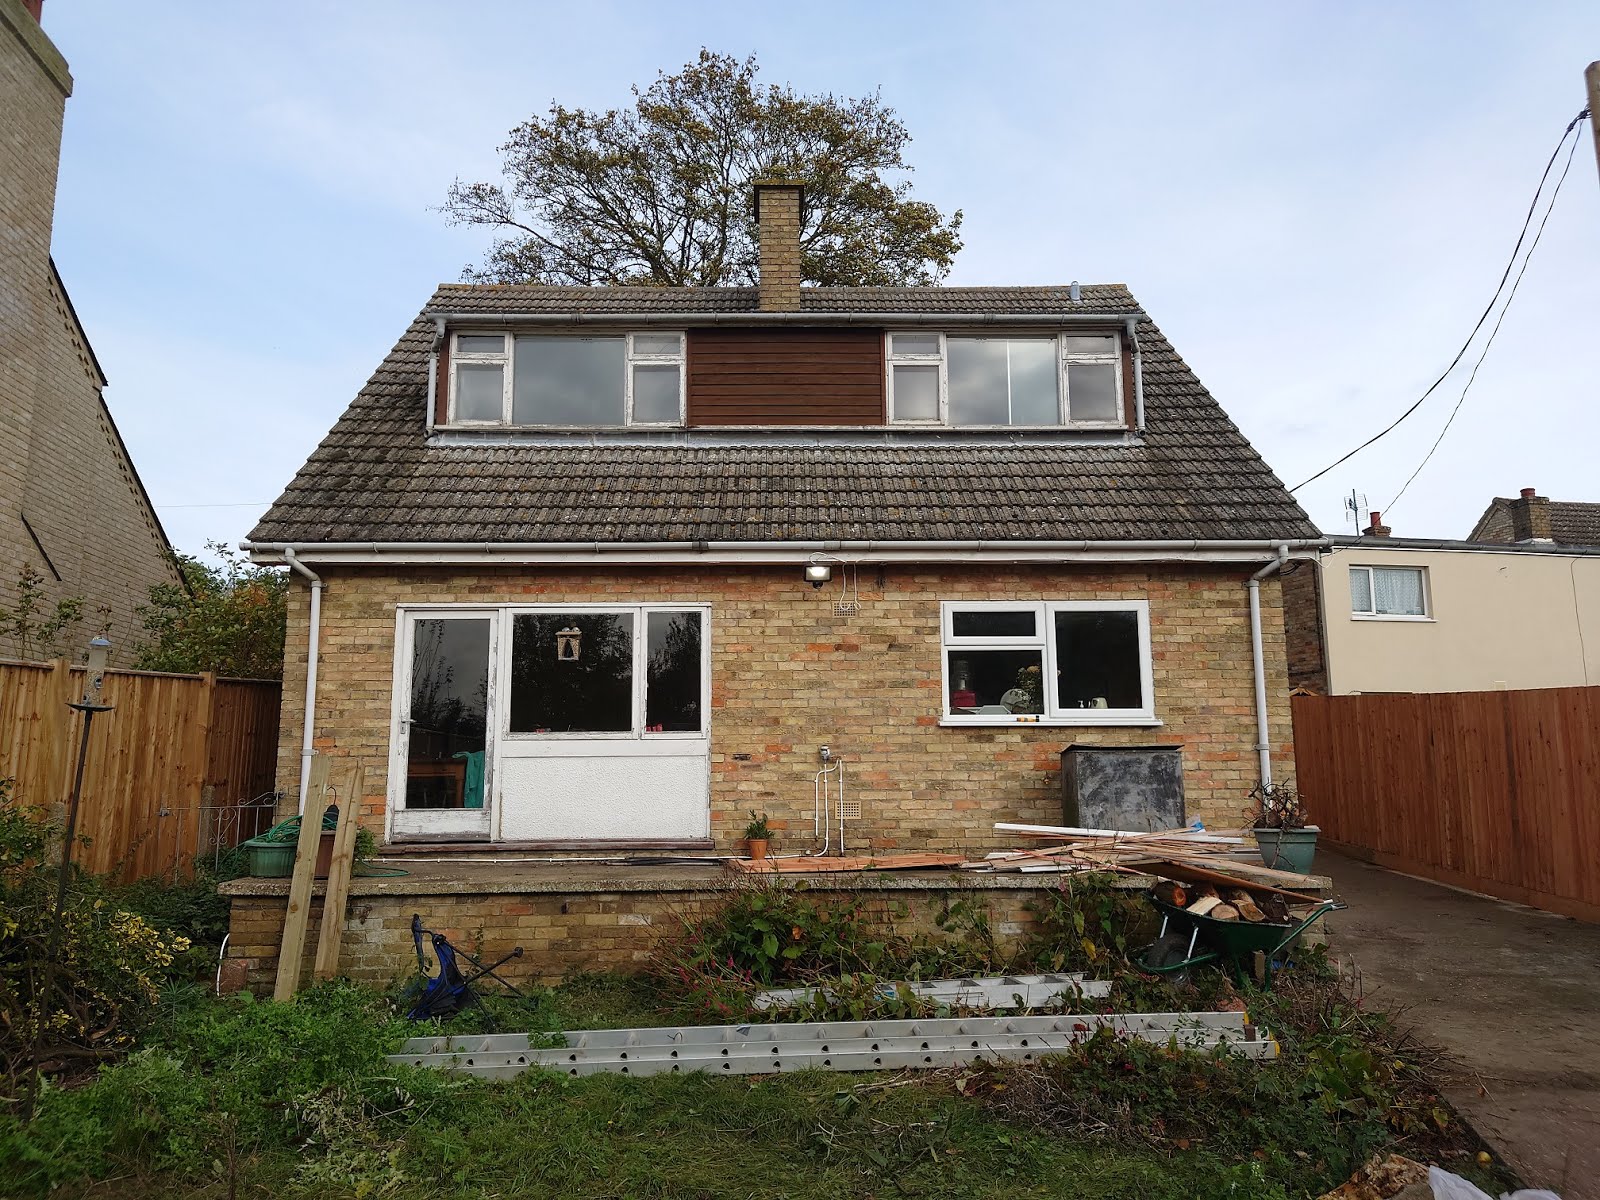
 We found the solar panel company via a scheme run by Cambridgeshire County Council: Solar Together. The install date finally came round. The company, Greenscape Energy, arranged the scaffolding prior to the day. The system we agreed on: 15 QCell 340W panels, 5.1 KW system with 7.2KW pylon batteries. Solis Inverter. Directly south facing, 20 degree incline.  So far we are producing more electric than we are using but its early days and heating isn’t on yet!  The illustration estimates a 10 year return on investment. So harder decision to make than the ASHP which is a 5 year return. And ASHP decision was easier as we needed something in place for lack of any boiler and didn’t want to replace the old oil boiler with a new one. I think the solar panels go well with the ASHP and make sense. The Solis phone app is great. It hard not to look at it all the time! It tells you how much you are generating at any one time (roughly 5 minute delay from real time), how much is going ...

Taps or no taps? Bath install

Image
  I assumed that with our new bath purchase we would also need taps. But on further research I discovered something I had never heard of before... tapless baths! So we pushed the boat out (so to speak!) and purchase a Mira bath and shower valve complete with all the bits we needed (https://www.mirashowers.co.uk/showers/digital-showers/mira-mode-shower-bath-fill-valve-only-pumped-for-gravity/) So we installed the valve under the stairs with copper pipe and waste laid under the screed (prior to screeding). We have an app on our phones to run bath to our preset temperature and duration (bluetooth connection) or a button the wall. We were very certain we didn't want any wifi connected contraptions in our home that were reliant on the internet but we agreed that this would be acceptable and there was a wall option too. It is a real luxury knowing your bath is filled to correct temperature and no need to watch it fill either. And no taps to clean or descale!  We will fit the shower ...

Downstairs floors, insulation, underfloor heating and screed

Image
Now that the upstairs we liveable, it was time to start on the downstairs. First we had to remove the remaining screed from the back of the house. Then lay insulation. We put 125mm of insulation in the front rooms to bring it to roughly the same height as the back. Next we had to put down a later of polythene and a foam expansion strip around the outside to allow for the screed to expand when heated by the underfloor pipes. Then we lay the 16mm Thermrite (pex-al-pex) underfloor heating pipes and clipped down onto the insulation. We had 7 zones in total. The one big mistake we made was not too pressurise the system. We were told we only needed to fill the pipes with water. This is not correct, its important to pressurise the system up to about 6 bar and then let it drop and sit at 1.5 bar, otherwise the screed will crack. Because we didn't do this we had to cancel the screed delivery and go back into the queue. It meant that we had to move out for a month as we couldn't live in ...

Installing the MVHR machine

Image
Finally, our MVHR machine and ducting parts had arrived from Green Building Store. They had a long wait in the queue to get to design stage and then a long wait for the parts to arrive. We couldn't progress much further without it so we were keen to get it installed. The machine we had been recommended by the Green Building Store was the Ubiflux Vigor 325. As a GBS windows customer we received a 10% discount on MVHR materials. Perhaps you haven't heard of Mechanical Ventilation with Heat Recovery (MVHR) so he's a quick summary:  MVHR (Mechanical Ventilation with Heat Recovery)   provides fresh filtered air into a building whilst retaining most of the energy that has already been used in heating the building . Heat Recovery Ventilation is the solution to the ventilation needs of energy efficient buildings. Mechanical ventilation with heat recovery (MVHR), heat recovery ventilation (HRV) or Comfort ventilation are all names for the same thing.   A heat recovery ventila...

Kitchen install

Image
The kitchen arrived assembled in boxes from Wren kitchens and the team carried it up the stairs. Jake's friend, Ben, came down from Stoke to help install the kitchen. First we needed to do a bit of plumbing and fix the last remaining floorboards down. And also add a layer of ply as we were planning to have a Karndean type floor (LVT) and it was easier to put the ply base layer down first before the kitchen. The kitchen install was fairly straight forward with the use of Ben's cutting tools and experience. Most of the cabinets were on floor level. We just needed to get the island in the correct place. We added knobs and handles later. Wren kitchens came back the following week to survey for the worktop template. They then came back to install the quartz worktop 12 days later. We had paid for a full 3m length worktop for the island but the surveyor said the team would not be able to carry it up the stairs in once piece. We had the choice of getting it up the stairs ourselves or h...

Window install

Image
 The big day had arrived. The team from Green Building Store were coming to install our large sliding window/door on the first floor. There were so many unknowns and potential issues that it was quite a nerve wracking day. We were worried that the surface we had provided would not be smooth enough for the window lifting machine. But this worked ok. The team had a practice with the machine, lowering the temporary windows we had installed in the hoarding. It had a bit of wobble and the arm was stretched at its maximum so it wasn't ideal. The frame was taken up the stairs in bits and assembled on the first floor. The three window panels were lifted up one at a time. We had got the height measurements of the opening perfect which was good news. The side measurements on the hand were a bit tight since we had plastered the dormer cheeks. But the team got the window in. The aluminium sill they provided looked naff on the first floor. They are usually fitted on a ground floor. We opted not...

Lead sill detail

Image
 We had agreed with the window surveyor that we were going to create a sill with 25mm plywood and lead. The amazing Tod was the brains behind this bit. He drew up a plan initially so we could show the window surveyor and also did the lead welding. We used code 5 lead as this was quite a large area to cover and needed a higher quality lead if it wasn't going to crack. We used 5 pieces and joined them with a seam. This did mean that it wasn't a completely flat base for the window and the installers would require packers.  We were very pleased with the outcome.