Window install
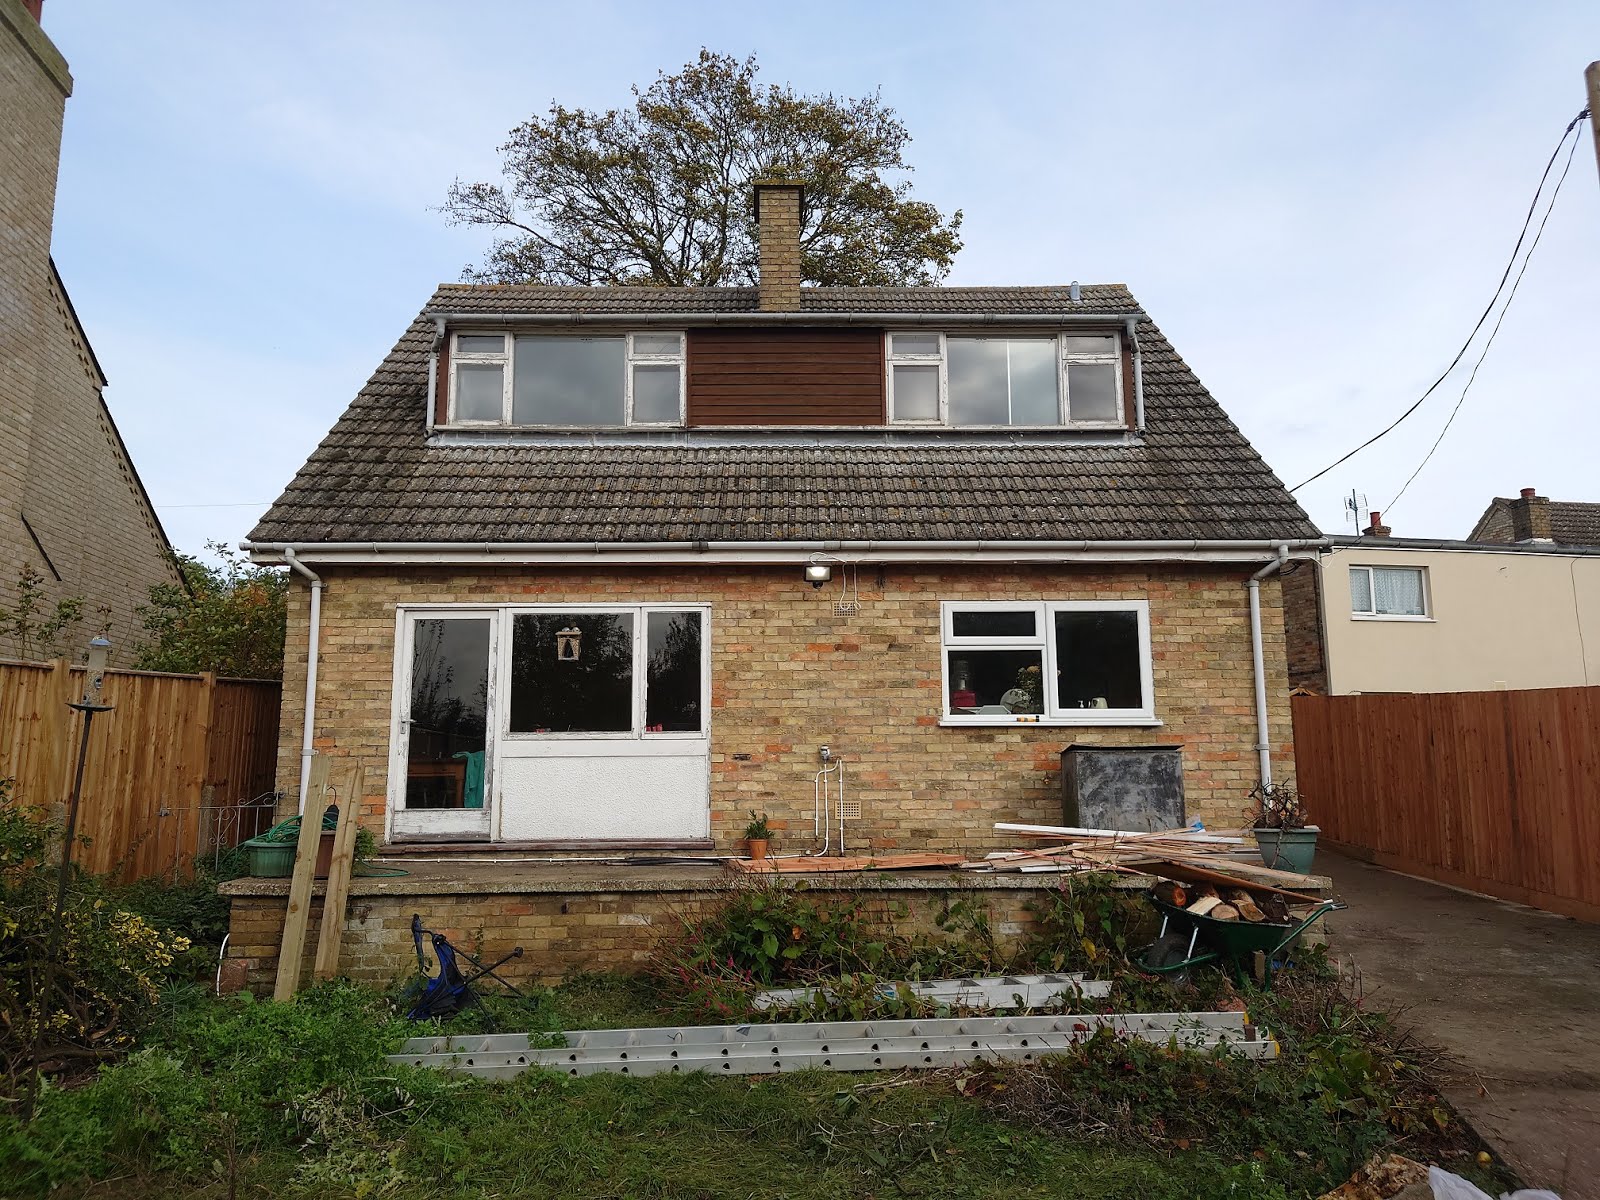
The big day had arrived. The team from Green Building Store were coming to install our large sliding window/door on the first floor. There were so many unknowns and potential issues that it was quite a nerve wracking day. We were worried that the surface we had provided would not be smooth enough for the window lifting machine. But this worked ok. The team had a practice with the machine, lowering the temporary windows we had installed in the hoarding. It had a bit of wobble and the arm was stretched at its maximum so it wasn't ideal. The frame was taken up the stairs in bits and assembled on the first floor. The three window panels were lifted up one at a time. We had got the height measurements of the opening perfect which was good news. The side measurements on the hand were a bit tight since we had plastered the dormer cheeks. But the team got the window in. The aluminium sill they provided looked naff on the first floor. They are usually fitted on a ground floor. We opted not to fit the sill and instead we would keep our lead sill and clad the rest of the opening with the cedral cladding board we were using on the cheeks. One thing that we didn't predict was the silicone used on the window reacted with our beautiful lead sill and left marks. In hindsight we should have made sure the correct silicone was used. Unlike the other windows where the airtight tape (Contega) was put on the inside of the window, this window had it going to the outside where we would seal it onto the cladding.


Comments
Post a Comment