Posts

Showing posts from January, 2021

Lower chimney removal

Image
More demolition... removing the lower level of the chimney to make space in the ground floor bedroom.  

Making space under the stairs

Image
We decided to make some extra space under the stairs. This was where the underfloor heating manifold was going to be sited. And also make some space for a cosy corner for the dogs. In order to do so we needed to remove a line of bricks and add in a lintel before taking out the rest of the wall. It also enabled us to see where the stairs needed reinforcing.  

Wood Burning Stove

Image
After the steels and new roof, the installation of the stove feels like the best biggest landmark. To finally have heating again feels great. We decided to install the stove ourselves and ask the Building Inspector to sign it off as we were not HETAS registered. This has been a fairly straight forward process. We added a wood stove to our initial building control application when we paid our fee. After quite a bit of research we decided on the Dik Guerts Ivar 8 Store stove from the Stovefitters Warehouse.  The website is hugely informative and gave us the confidence to fit the stove ourselves. We also used the same company to design our flue. You give them a set of measurements and they send out the flue parts you need. The flue is Duraflue twinwall. We needed a 6 inch flue. We ordered a slate hearth online. It was quite tricky making sure we had met all the building regulations for hearth size, but again there is lots of info online about this. Or you can check out the Building Regula

Flooring

Image
We had decided to take out all the old squeaky floorboards and replace with  Caberfloor P5 Tongue and Grooved Moisture Resistant Chipboard Flooring which we glued and screwed in place. We also put joist tape over every joist before laying the boards (available from local company Affixit) . As our living area is on the first floor above the bedrooms it is so important that we minimise any sound. We may also consider rockwool insulation between joists if the acoustic underlay doesn't completely minimise the sound from above. But we can do that from the ceilings below.

My new best friend...

Image
 Henry the hoover is amazing. There are no bounds to his ability to handle the toughest of building waste including sawdust, rubble, mouldy insulation, even mouse (and rat! eek!) poo. (I am receiving nothing for this bold vacuum cleaner marketing!) With or without his bag he just keeps on going. We have even started calling him Henri with a French accent.

Insulation

Image
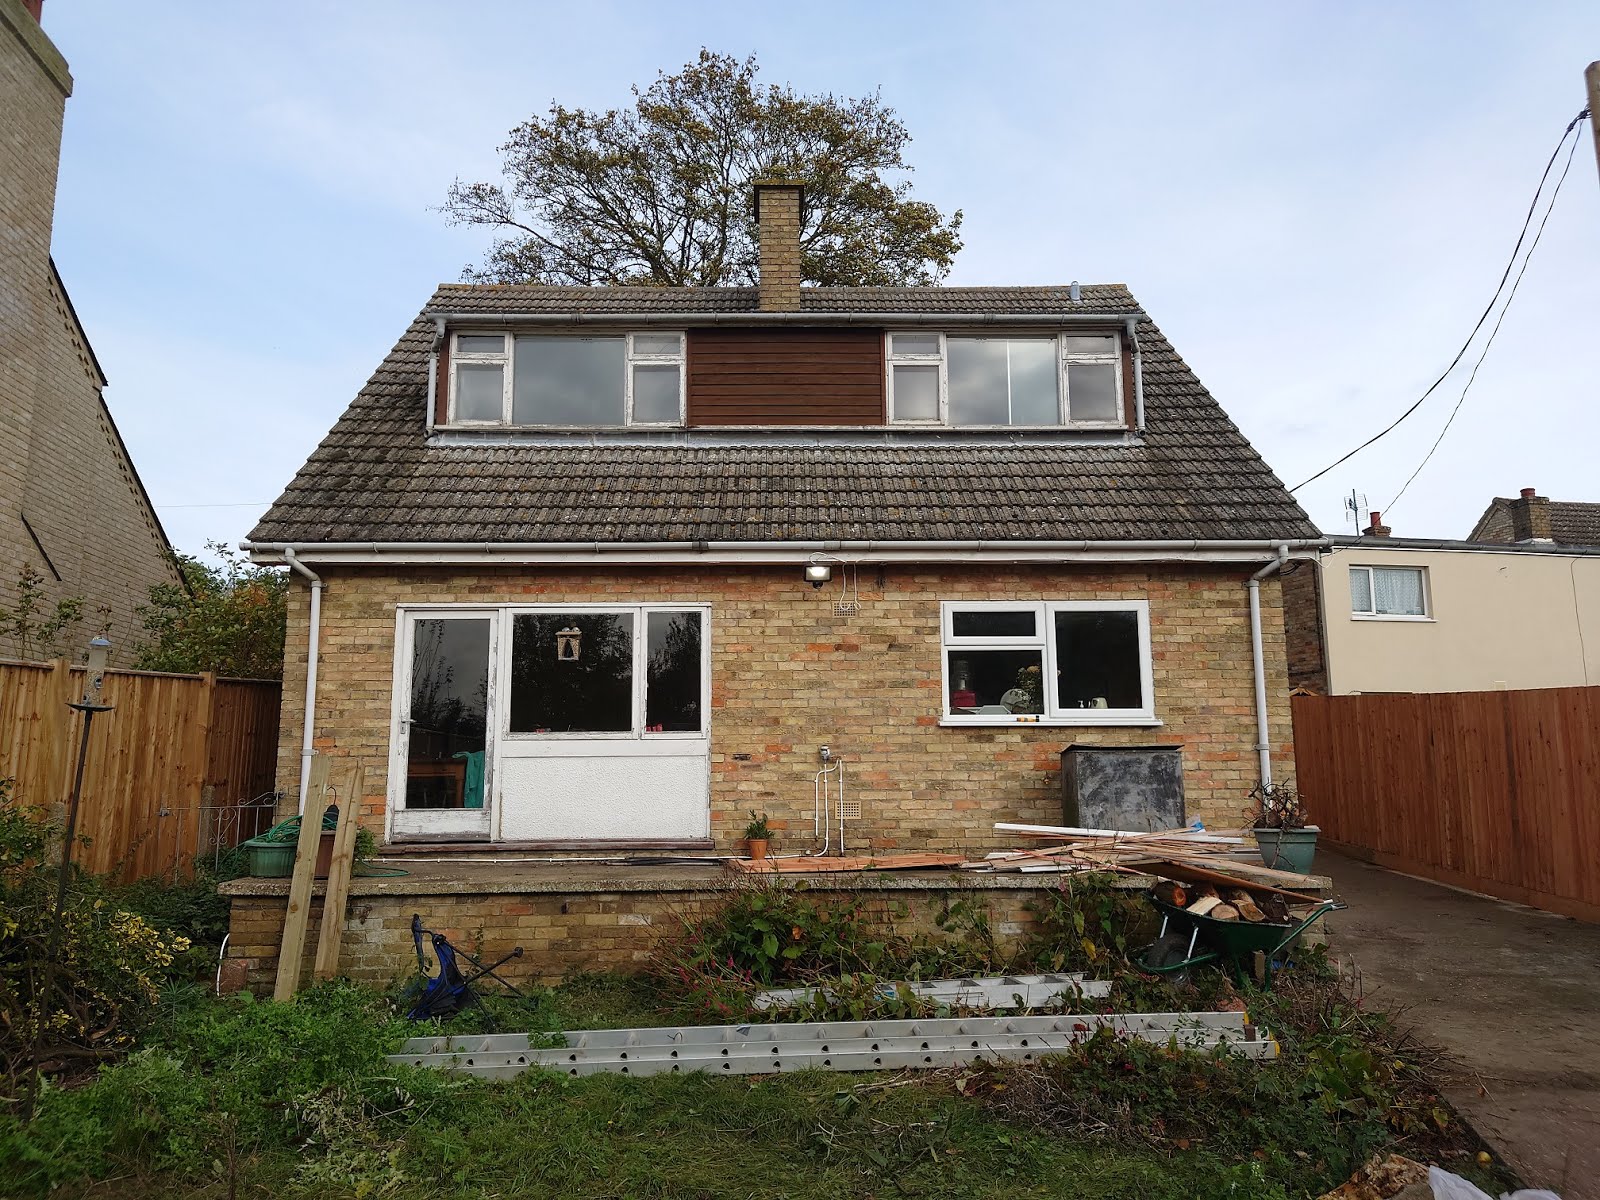
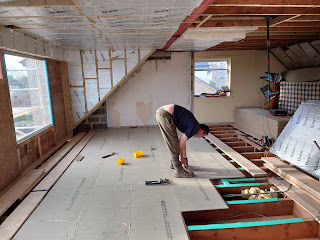
 I will be so pleased to see the back of the damp, moudly, mouse-poo strewn fibre glass insulation. I bagged up the last of the stuff and took to the recycling unit. Sadly I do not think it is recyclable. We have been thinking about sustainability as we go along the renovation project. I thought insulation would be a problem area for sustainability. Are we going to have to make some "green trade-offs"? We opted for 150mm Quinn Therm PIR boards on the new roof between the joists and a further 25mm sheet over the joists. And on the old roof which has a non breathable membrane and up to now zero ventilation (hence the damp, moudly fibreglass), we have put 50mm with a gap behind for air to circulate, and 100mm over the joists. We will also add ventilation holes in the gable ends and in the soffits. And we are going to tape the outermost sheet of PIR with airtightness tape. " PIR (polyisocyanurate) insulation is a popular insulation board commonly used on homes across the cou

Tiling day

Image
 The first row of baton is crucial to getting the tiling correct. After this we can get the right spacing for the rest of the batons based on the pitch. The steep sides of the roof proved to be a lot fiddlier than the gentle slope of the dormer.  We reused all the tiles that came off the original roof (Camtiles). But still required a further 350 tiles which we managed to get locally salvaged from a garage for 80p a tile. They aren't the most pleasing aesthetically but they do the job and most of them will be covered by solar panels in the future. The first 2 rows of tiles and every 4th row is fixed with a nail in addition to the sides and top row. We laid the last tile on 3rd January 2021. Its great to start the year with a water tight roof!