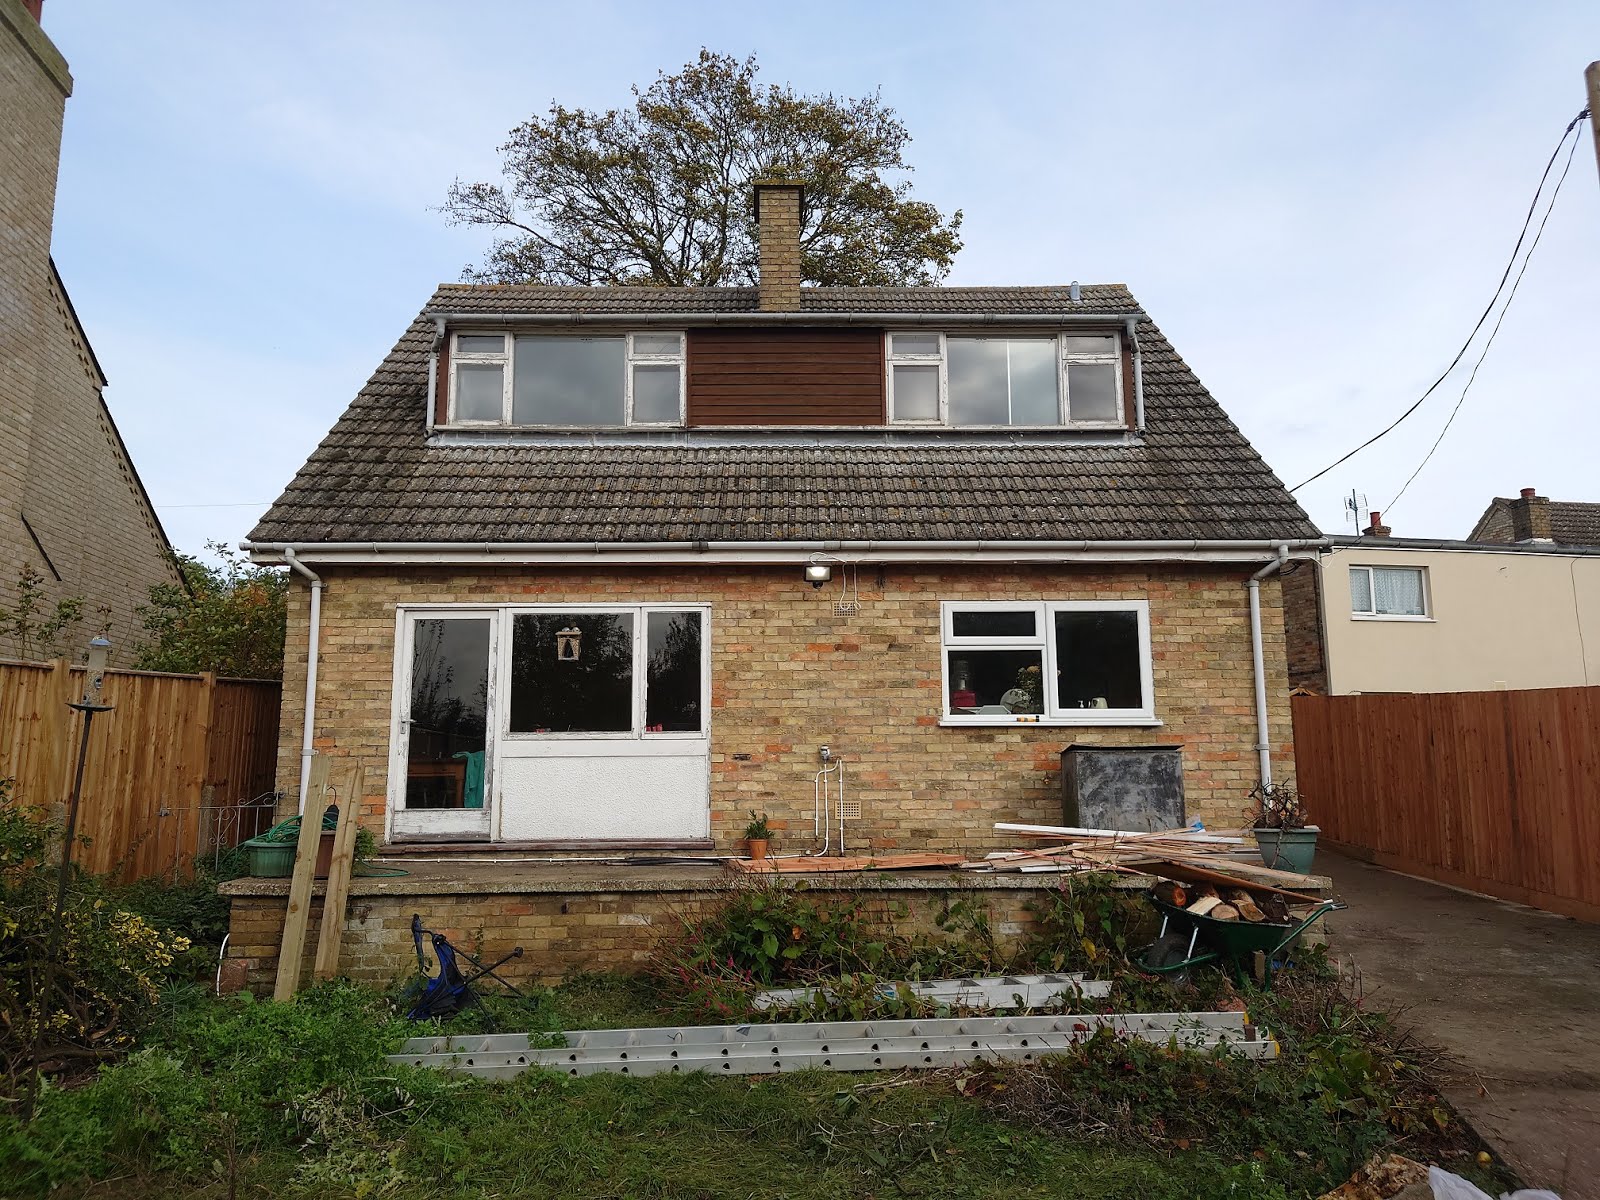
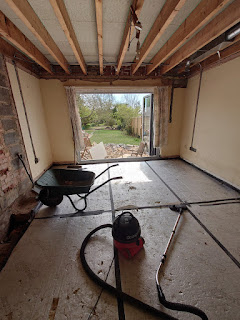
Now that the upstairs we liveable, it was time to start on the downstairs. First we had to remove the remaining screed from the back of the house. Then lay insulation. We put 125mm of insulation in the front rooms to bring it to roughly the same height as the back.
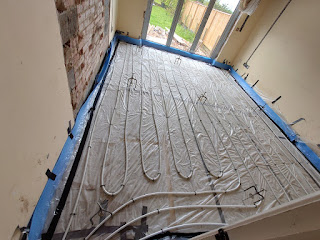
Next we had to put down a later of polythene and a foam expansion strip around the outside to allow for the screed to expand when heated by the underfloor pipes. Then we lay the 16mm Thermrite (pex-al-pex) underfloor heating pipes and clipped down onto the insulation. We had 7 zones in total.
The one big mistake we made was not too pressurise the system. We were told we only needed to fill the pipes with water. This is not correct, its important to pressurise the system up to about 6 bar and then let it drop and sit at 1.5 bar, otherwise the screed will crack. Because we didn't do this we had to cancel the screed delivery and go back into the queue. It meant that we had to move out for a month as we couldn't live in the house without a toilet or bath! The plumber from Clarity Heating came to connect the pipes to the manifold and pressurise the system. Another tip, was to place conduit around the pipes where they will pass through the screed to protect them. We used 22mm JG Conduit pipe.


Finally screed day had arrived! We opted for the more expensive CemFlor Therm, a concrete based liquid screed as opposed to the gypsum based (aka anhydrite or calcium sulphate) based flowing screeds. A cement based liquid screed is batched from cement, sand, water and a limestone powder-based binder containing additives to enhance flow, reduce shrinkage and stop bleed and segregation in the screed. Cement based screed has the advantages of the gypsum based ones but hopefully none of the disadvantages. The drying time is meant to be faster too. They can be used in wet areas, have no surface laitance and require no priming under any type of flooring adhesive.
Finished floors at the back:


Hi, great blog, right up my street! I wish I was organised enough to keep one of my retrofit adventures. I am intrigued by your comment on having to pressurize the UFH pipes prior to screeding. I did right the opposite: no water in the pipes until after the screed has fully set, the reasoning being that the pipe diameter is minimal so that no air sheaths can form between the pipe walls and screed, reducing heat transfer. This idea assumes the screed is strong enough to withstand the forces from the pipe expansion, which seems reasonable as screed is really good with compression forces. BTW I am a very happy Clarity Heating customer.
ReplyDeleteThat's interesting Bart. We thought the same and then screed day arrived and we were told no, we had to commission system first before screeding. So we had to cancel screeding and go to the back of the queue for a month! Very inconvenient.
DeleteAh, yes, commissioning needs to happen before it all gets covered up. In my case we let off the pressure and let the screed harden fully before putting it back on. I have no idea whether it helped though, but the system seems to behave very well.
DeleteGreat detail in this post—getting the right combination of flooring, insulation, and heating makes a huge difference in comfort and energy efficiency. At peterniven, we carefully plan and install high-performance flooring systems in our custom builds and renovations across the Mornington Peninsula, ensuring every layer works together for a warm and efficient home.
ReplyDeleteGreat post! When it comes to downstairs floors, insulation, underfloor heating, and screed, it’s essential to choose the right materials and techniques to ensure maximum efficiency and comfort. As experts in home building and renovation, we at Niven Builders specialize in providing tailored solutions for these key elements. Whether you’re looking to improve your home's insulation or install a high-quality underfloor heating system, we offer professional advice and service to ensure your project meets the highest standards. Check out our website peterniven for more information on how we can help transform your home into a more comfortable, energy-efficient space!
ReplyDeleteUpscale your home's appearance and longevity with high quality external cladding from Mitten Vinyl. Trendy, weather-resistant, and low-maintenance options.
ReplyDelete